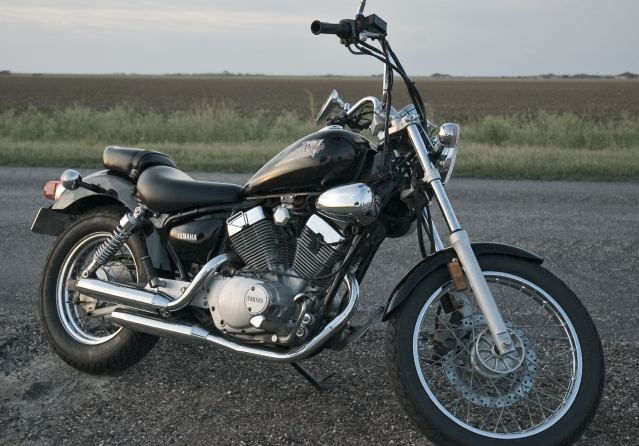
If your battery is not charging, and the lights are dimming, it might be the rectifier. The rectifier is a device that converts the ac voltage from the stator into dc voltage for charging the battery. Without this, the battery cannot charge.
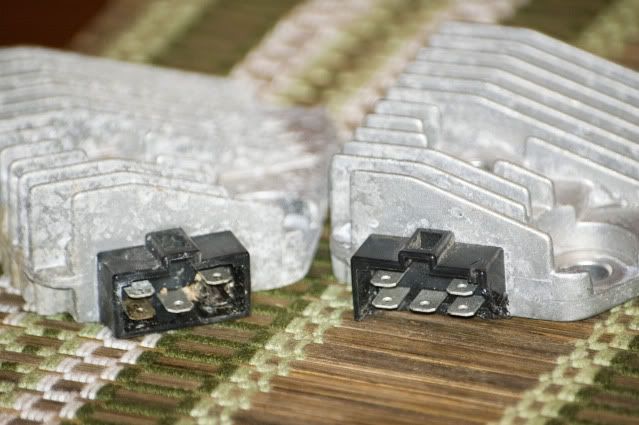
What usually makes it "burn out", is by running on a half charged battery. Doing so puts a lot of strain on the rectifier, and as a result it gets VERY hot. In my case, the connector itself melted! ALWAYS USE A BATTERY TENDER. I did not, and I paid for it
How to test the rectifer:
Began by taking off the left side cover. Pop the back off and swivel it out. Set a multimeter to diode check function, and with the positive probe, touch the connector blade that the black ground wire was attached to, then with the black probe, touch each of the three blades that were connected to the white wires. Repeat this process with the black probe touching the blade where the red wire was, and then the red probe touching the three white blades.
Spec should be .300 to .800 VDC for forward bias. Reverse the polarity for reverse bias, and check for continuity. There should be none.
Items needed to fix it:
New rectifier(duh)
Silver solder
60 watt soldering iron
Some soldering skills
1/4" Heatshrink tubing
Electrical tape
You can find used rectifiers on Ebay for extremely cheap, I bought mine for $20.
Here is the melted connector:
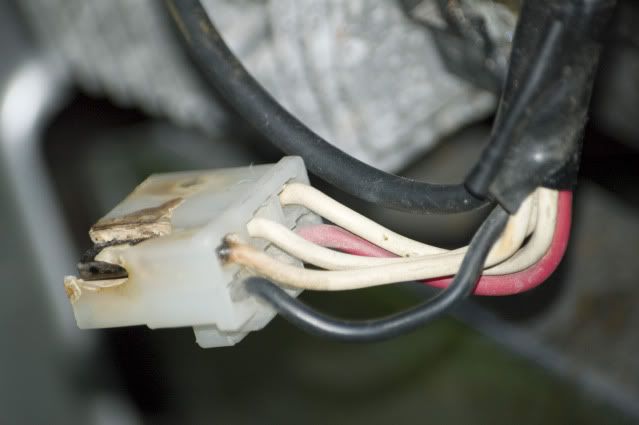
Using a sharpie, label the three white wires, one, two, and three. So you know which order to solder them on.
Cut the connector off with a knife, then keep cutting down the wire until you reach non burnt, shiny copper.
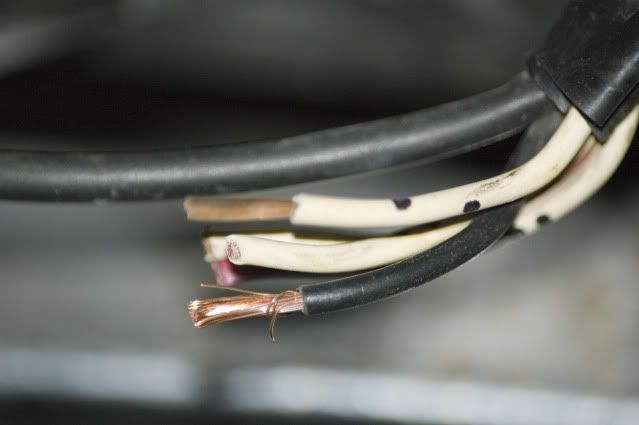
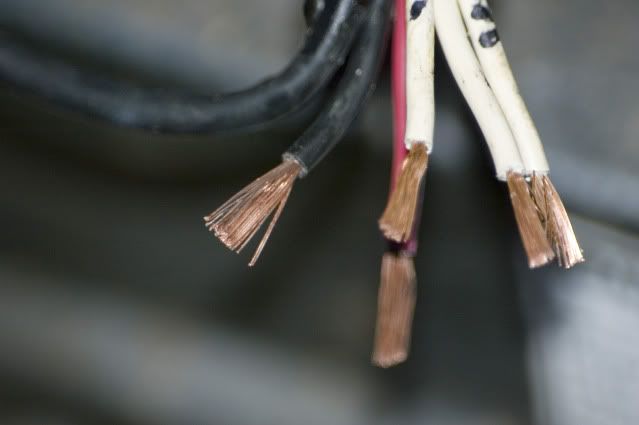
Next, cut away the excess plastic on the rectifier so you can easily solder on the new wires.
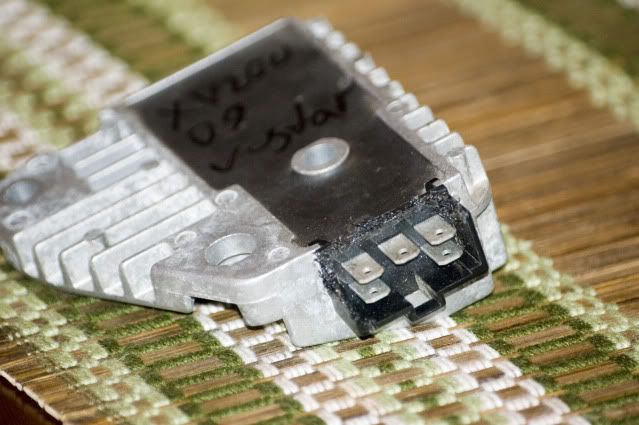
Now, break out your solder. The reason I said to get silver solder, is because it's MUCH stronger than tin solder. It will hold against all the vibrations of the little 250. There's a downside though. Silver is a lot harder to melt. So that's why you need the 60 watt.
Start by tinning the wires, then slip some heat shrink over the wires, then solder everything up. Try not to use too much solder.
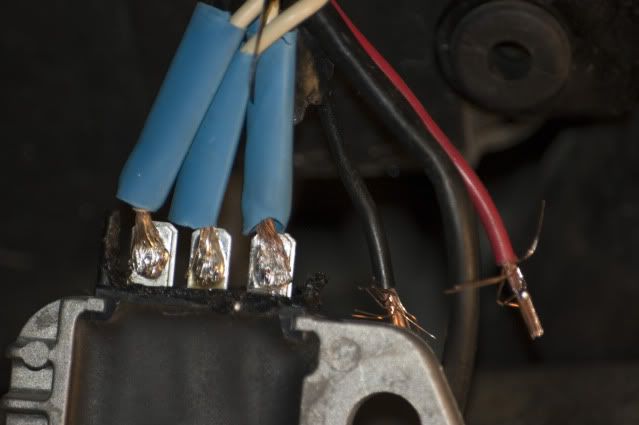
Wrap everything in electrical tape to waterproof it, and you should be good to go. Happy riding!
Nice info dude.
ReplyDeleteWhat do you own?
Check out my blog....Follow/Comment please!
Quality post, huge amount of info and great looking bike. Check out my blog below.
ReplyDeletehttp://aatlinks.blogspot.com/
great info follow back please
ReplyDeletevery in depth info man. you know what you're doin. wish i had a motorcycle ahaha. im following and clicking, follow/click back bro. peace
ReplyDeleteVery well written for the bike enthusiast. Following.
ReplyDeleteNice bike man, want to get into riding.
ReplyDeletewowbanksta.blogspot.com
Nice blog dear I like the way as you present your view among the all visitors. I would like to join you again on this blog it’s a very nice visit on this blog. It’s very attractive and effective for visitors. Soldering fluxes manufacturer, Soldering wire suppliers in Delhi
ReplyDeleteNice blog dear I like the way as you present your view among the all visitors. I would like to join you again on this blog it’s a very nice visit on this blog. It’s very attractive and effective for visitors. soldering wire suppliers,soldering wire manufacturers in India
ReplyDeleteI am reconnecting the white wires to the stator on my uncle's bike but stupid enough, didnt mark the wires and now I dont know which goes where... on this bike the black and red are on a different connector... so the three whites are on a different connector, can anyone help out my email is john.moore.1.6td@gmail.com I can provide photos THAAAANKS
ReplyDeleteAccording to the last picture the red wire is going to the right or left??
DeleteHave you figure out anything?
According to the last picture the red wire is going to the right or left??
ReplyDeleteHi. Ive just bought an xv250 with a dischargibg problem. Once checked, the regulator wasnt even connected. My problem now is how do I know where each white wire goes, or does it really matter?
ReplyDelete